Working with Matrices
What are matrices?
Matrices are a table of data with labelled rows and columns
Example:

Example uses of a matrix are:
- A correlation matrix
- A covariance matrix
- A table of statistical information
You have access to all public and your own private data from the Excel Add-in, this document shows you how to find the data you need.
Creating a new matrix
- From the toolbar select New > Matrices.
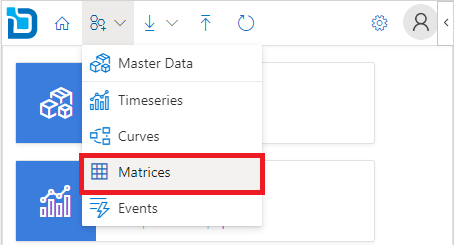
Alternatively, you can click on the Create link from the Matrices card on the home page.

- On the new matrix configuration pane, enter the details for the matrix being created.
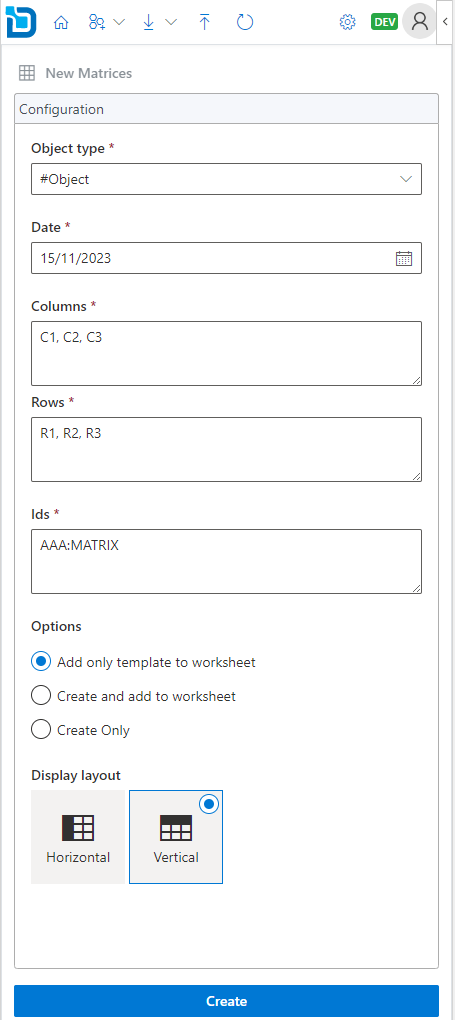
The id should include the object id and matrix id in the format <object id>:<matrix id>
To create multiple matrices, specify multiple ids separated by comma, space, or semicolon.
- Under Options you can choose how you want to create the matrices.
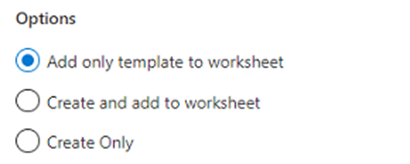
Add only template to worksheet
This option will only add the matrix layout to the worksheet, but the matrix is not created. You need to manually upload the data for the matrix to get created.
Create and add to worksheet
This option will create the matrix first and upon successful will add the matrix layout to the worksheet.
Create Only
This option will only create the matrix, it does not add to the worksheet. You can load the newly created matrix later from the Downloads section.
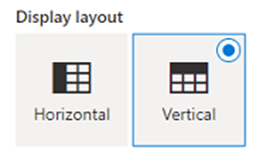
- Select the display layout for the matrix on the worksheet.
- Click Create to create the matrix based on the configuration.
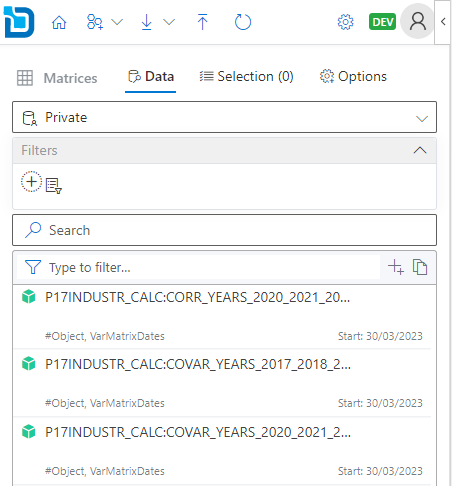
Downloading existing matrices
- From the toolbar select Download > Matrices.

Alternatively, you can click on the Download link from the Matrices card on the home page.

- Search for the matrices you want to download. You can use filters and or the search box to narrow down the search results.
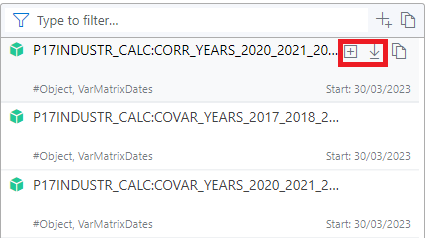
- Click the
 download icon on each item to download data to the spreadsheet. To add multiple matrices, you can click the
  plus icon to add to the selection and then click the Download button.
- Optionally, before downloading you can select Ondate to be displayed from the Options tab.

- Select the display layout for the matrix on the worksheet.
- Click Download to download the matrix onto the worksheet.
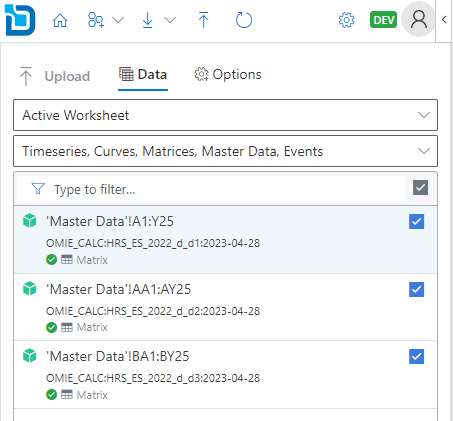
Updating existing matrices
- From the toolbar select Upload.

Alternatively, you can click on the Upload link from the Matrices card on the home page.

- Select the cell range from the available ranges listed from the worksheet.
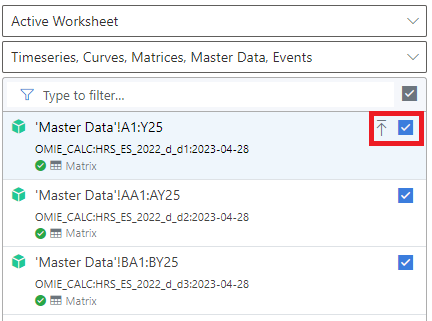
- Click the
 upload icon to upload the data.
To update multiple matrices, use the check boxes to toggle on/off from the range items listed and then click Upload button.
upload icon to upload the data.
To update multiple matrices, use the check boxes to toggle on/off from the range items listed and then click Upload button.
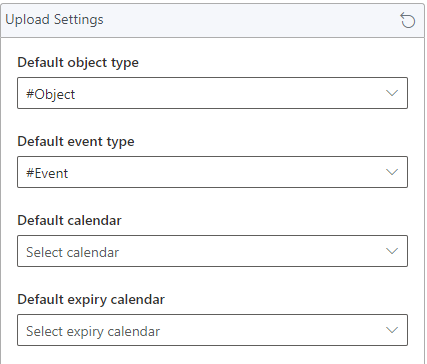
- Optionally, before uploading you can specify default settings for new events which are not yet created. This step can be ignored if all the items already exist.
Refreshing existing matrices
- From the toolbar select Refresh.

Alternatively, you can click on the Matrices link from the Refresh card on the home page.

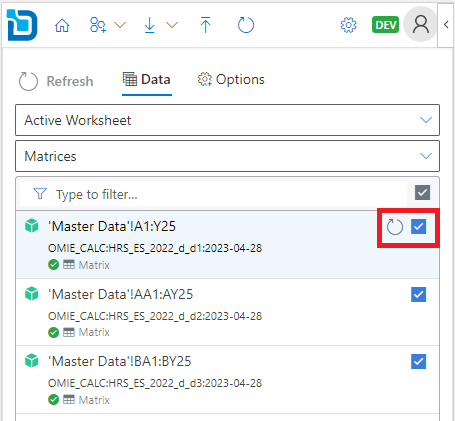
- Select the event range from the available ranges listed from the worksheet.
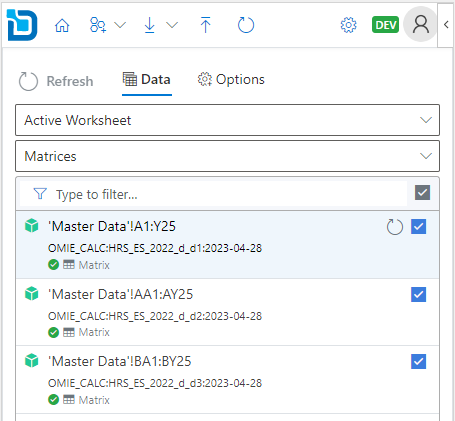
- Click the
 refresh icon to refresh the data.
To refresh multiple matrices, use the check boxes to toggle on/off from the range items listed and then click Refresh button.
refresh icon to refresh the data.
To refresh multiple matrices, use the check boxes to toggle on/off from the range items listed and then click Refresh button.
- Click Refresh to refresh the matrix data on your worksheet.